WFMW: Cinch Sack Tutorial
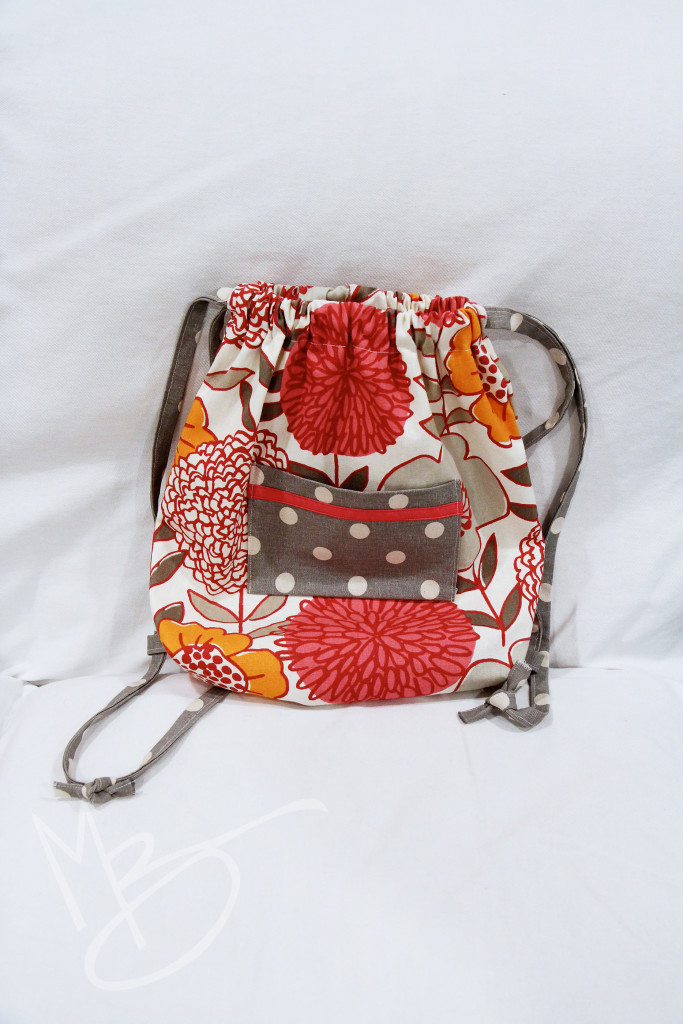
For our craft exchange at Allegany Boys Camp last Christmas, I made a backpack style cinch sack. It reminded me of one of those easy sewing projects that would have been so much fun as a girl learning to sew.
I thought it would be fun to write a little tutorial with pictures. If you’re an experienced seamstress, you can skim this article once and head off to your little sewing corner. But I thought it would be fun to do a spelled out version in case there are any twelve year old girls out there just itching to sew a project on their own!
You will need:
1/2 yard of fabric
1 – 7″x10″ piece of a coordinating fabric
2 – 2 1/4″ x 60″ strips of a coordinating fabric (I used the same for my pocket and strips but you could use three fabrics)
embellishments if you want them
ability to measure, cut, sew straight seams and buttonholes
**********
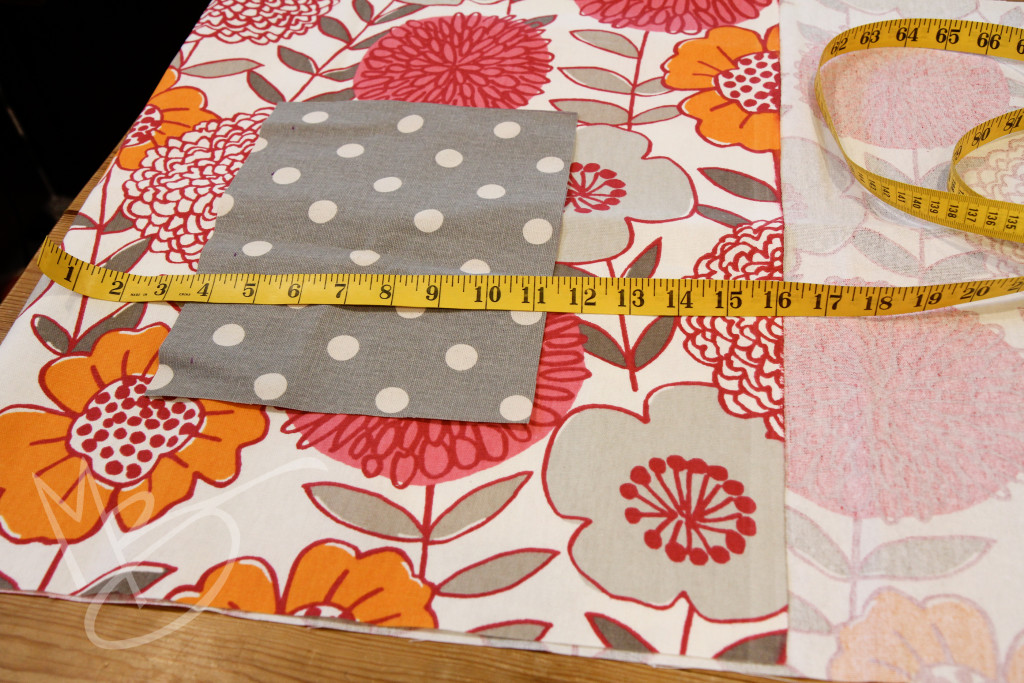
To get started, cut 2 large rectangles 16″ x 18″ of the main fabric.
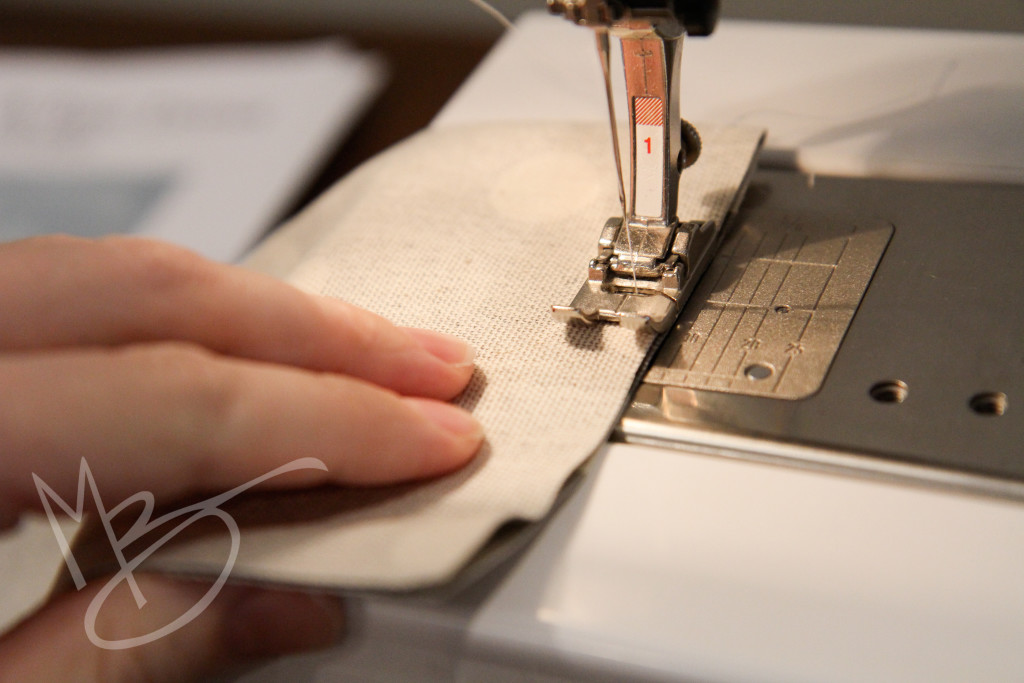
Cut the pocket and the strings. You can splice fabric if your fabric isn’t wide enough. Mine was 45″ wide so I had to splice. To make a splice, line the edges up and sew a seam.
Fold it open and iron it flat. Most times in a bigger piece you would want to make sure the pattern matches up evenly. For something this small, I didn’t bother matching. I figure most people aren’t going to be giving strings the eyeball to make sure all the polka dots look exactly the same. 🙂
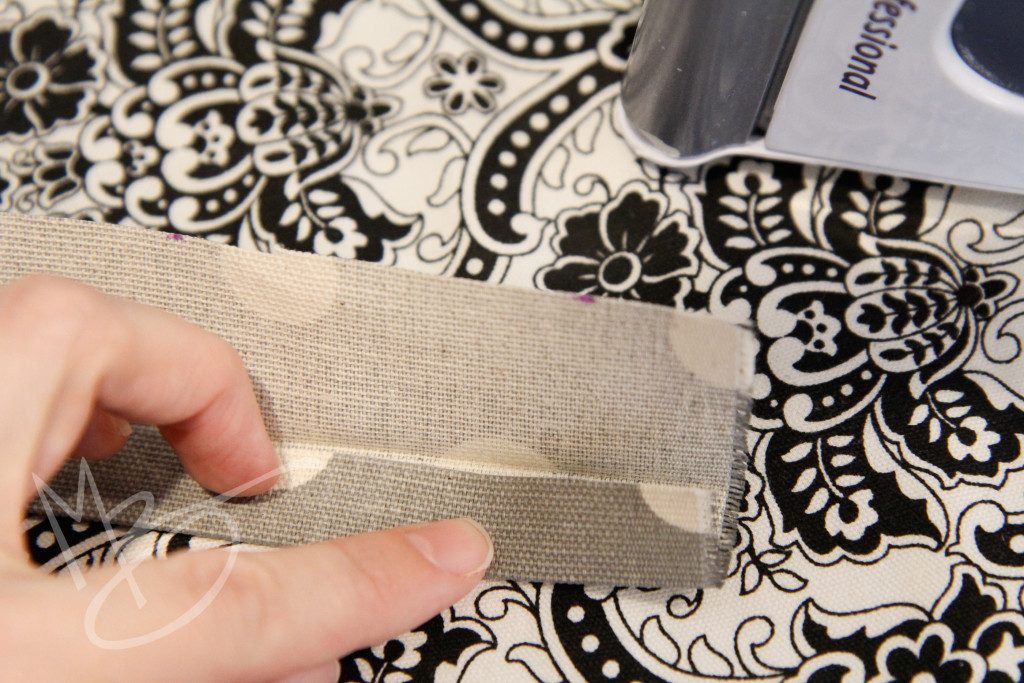
To make the strings, iron the strips in half to create a crease down the center the long way.
Next, open it and iron one side into the middle to line up at the crease.
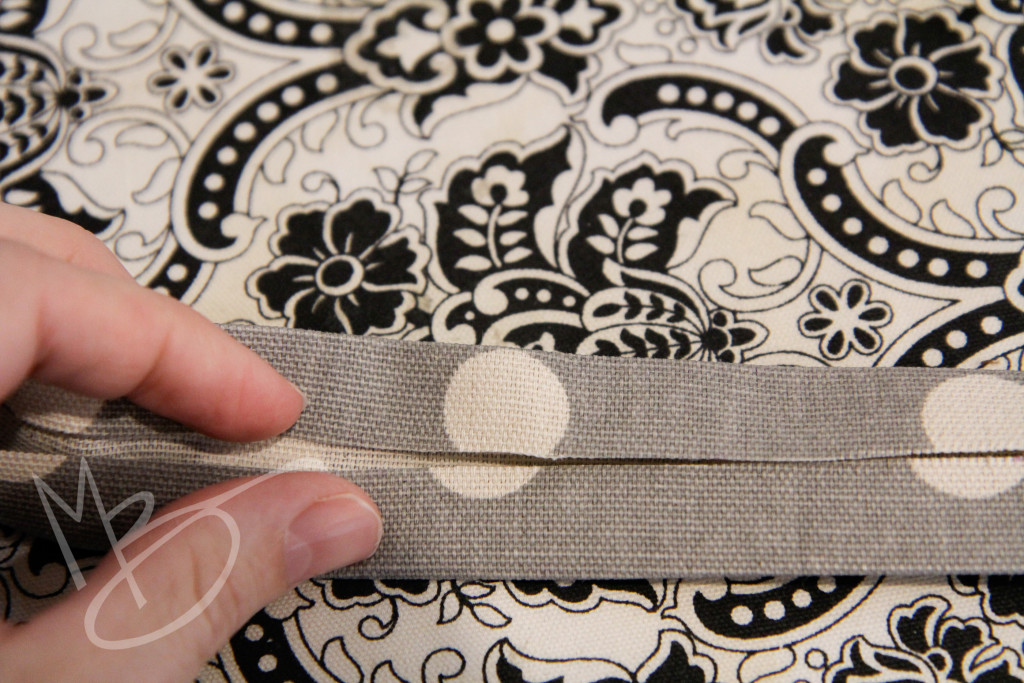
Then fold the other side into the middle and iron it, too. This was the hardest part of the project because I kept burning my fingers with steam from the iron! Watch your fingers. 🙂
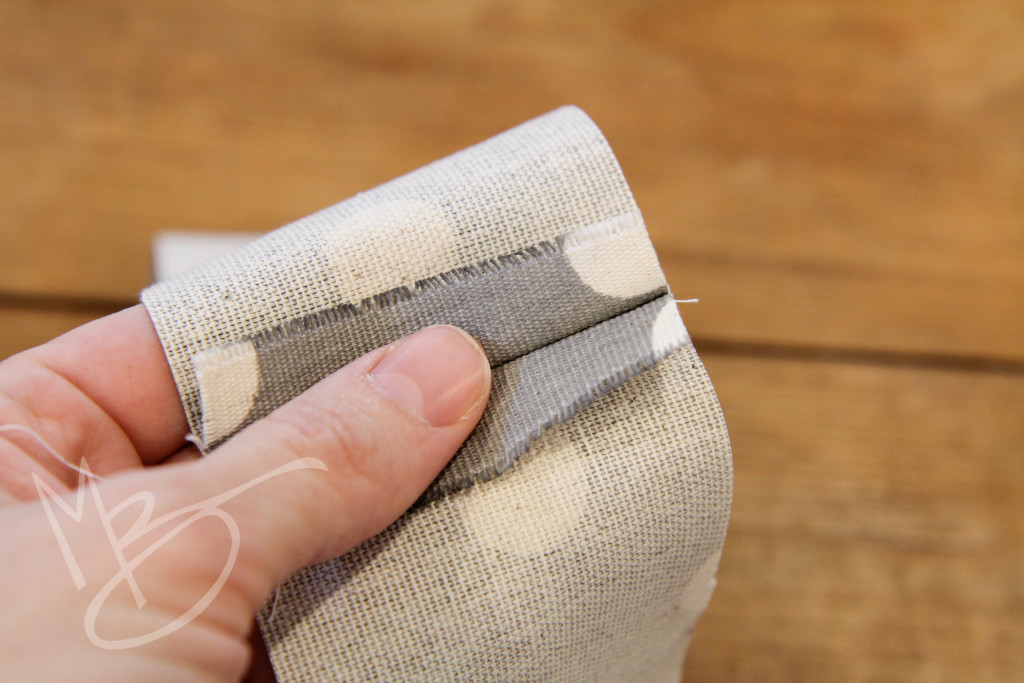
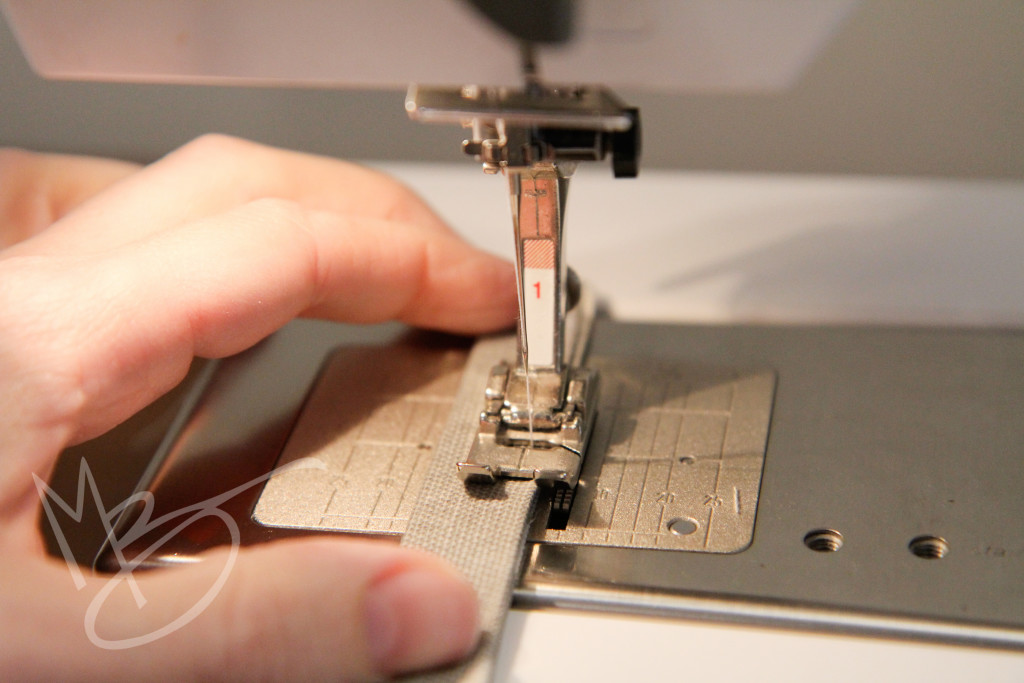
Sew close to the edge of the strip where the two folds come together. You can either move your needle alignment if your machine lets you do that or just feed the edge of the strip in as I did. This will make a sturdy strap for your backpack.
The strips should be about 60″ long. Cut a 3 1/2″ piece off each long strip to use at the bottom of the pack.
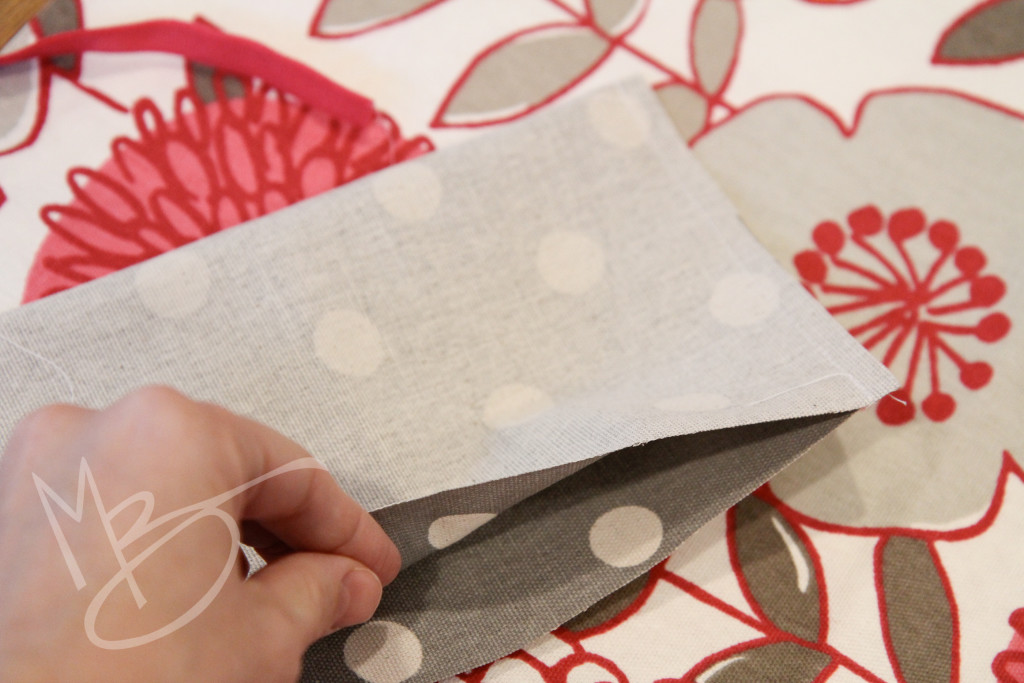
Now take the 7″ x 10″ piece of fabric and fold it in half the long way with the right sides of the fabric facing in.
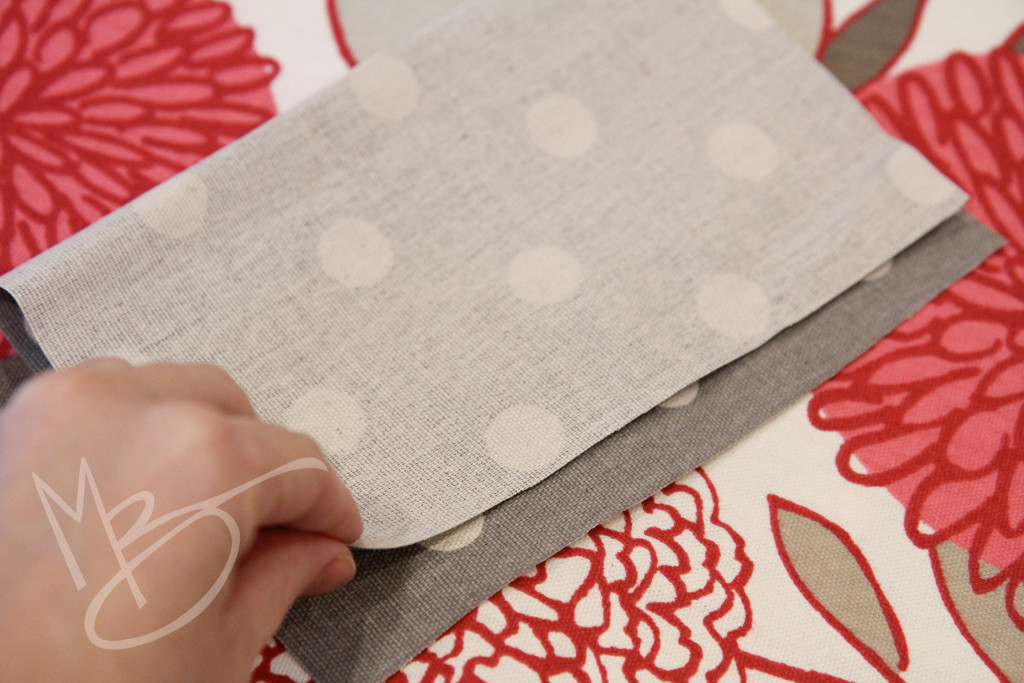 Sew along the raw edges at the sides, but not at the bottom.
Flip the pocket right side out. Be sure to use something (you can even use the eraser side of a pencil) to push those corners out nice and tight. Press the edges lightly.
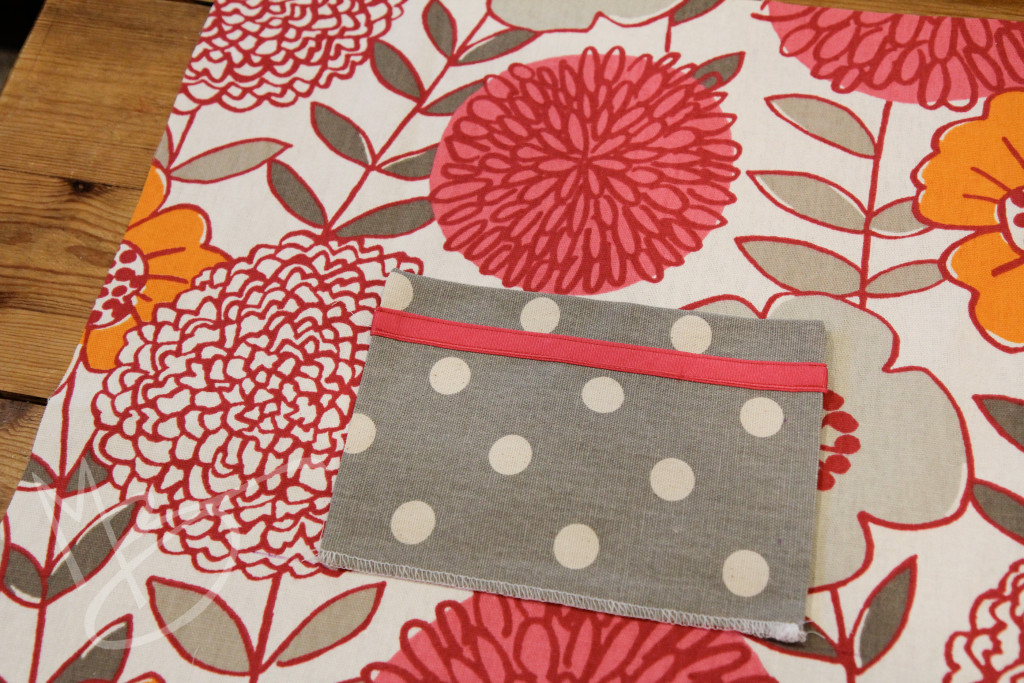
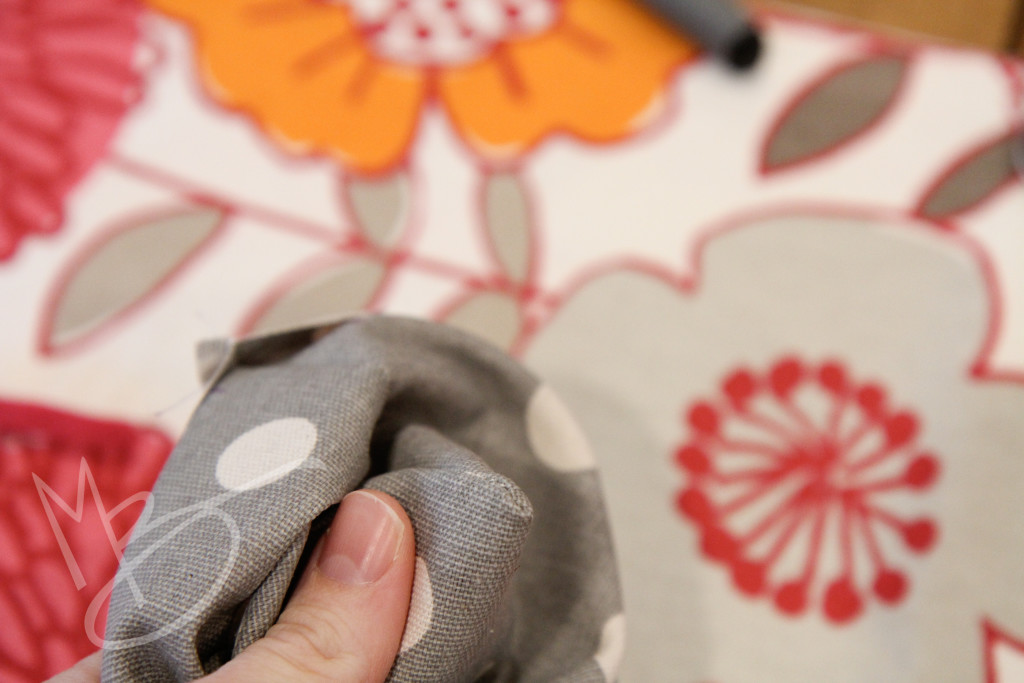 Serge the remaining raw edges together. If you want to embellish the pocket, add whatever you choose now. You could add lace, ribbon, buttons, or even a fabric flower depending on what fabrics you chose.
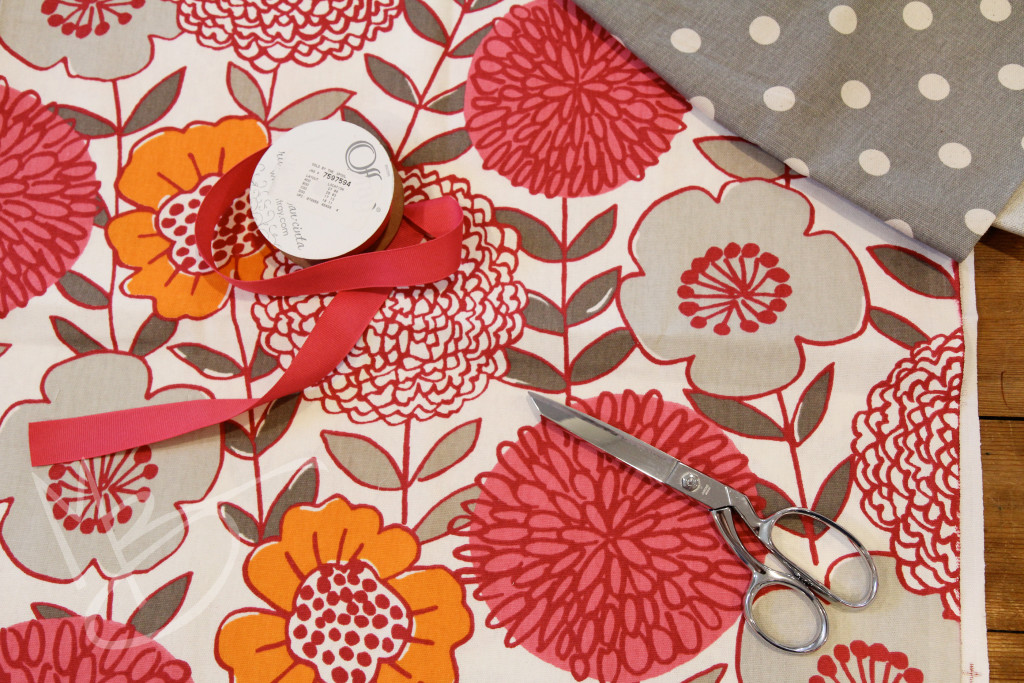
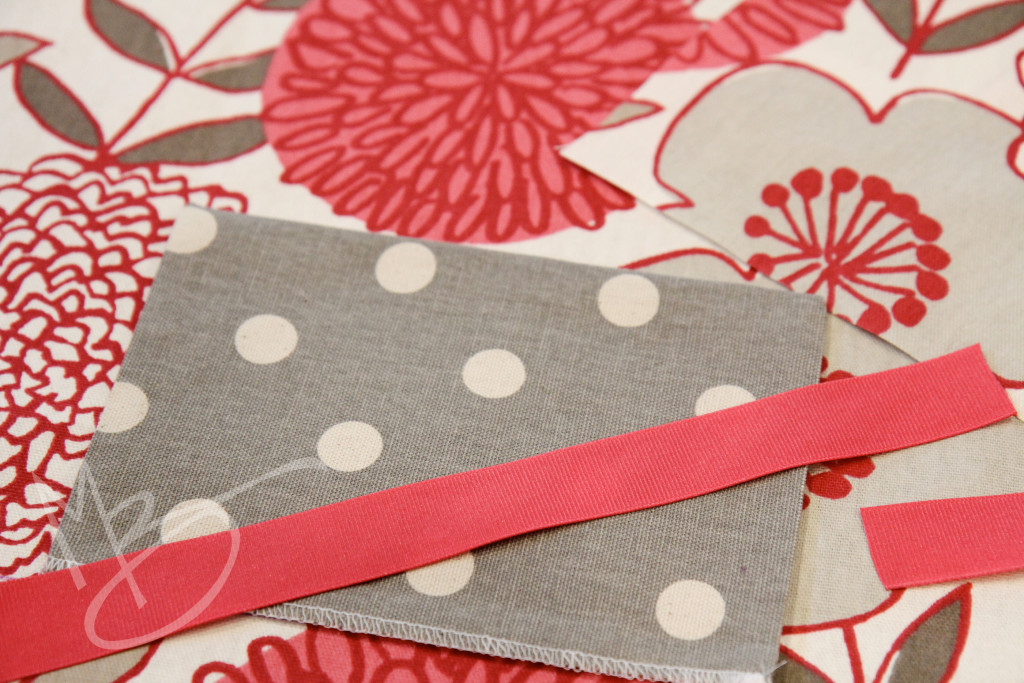
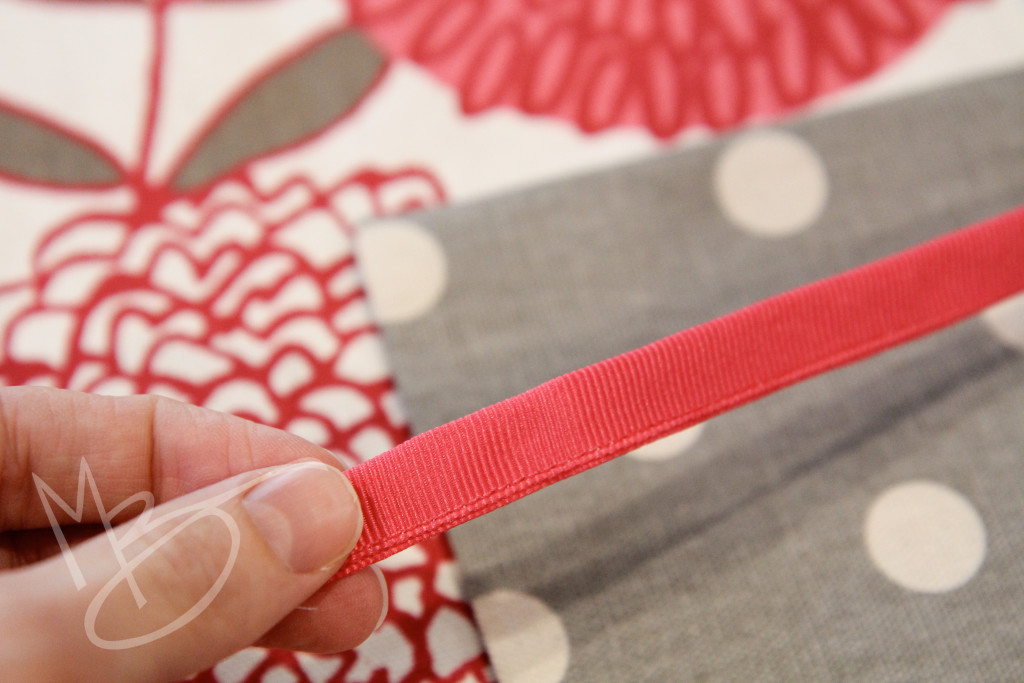
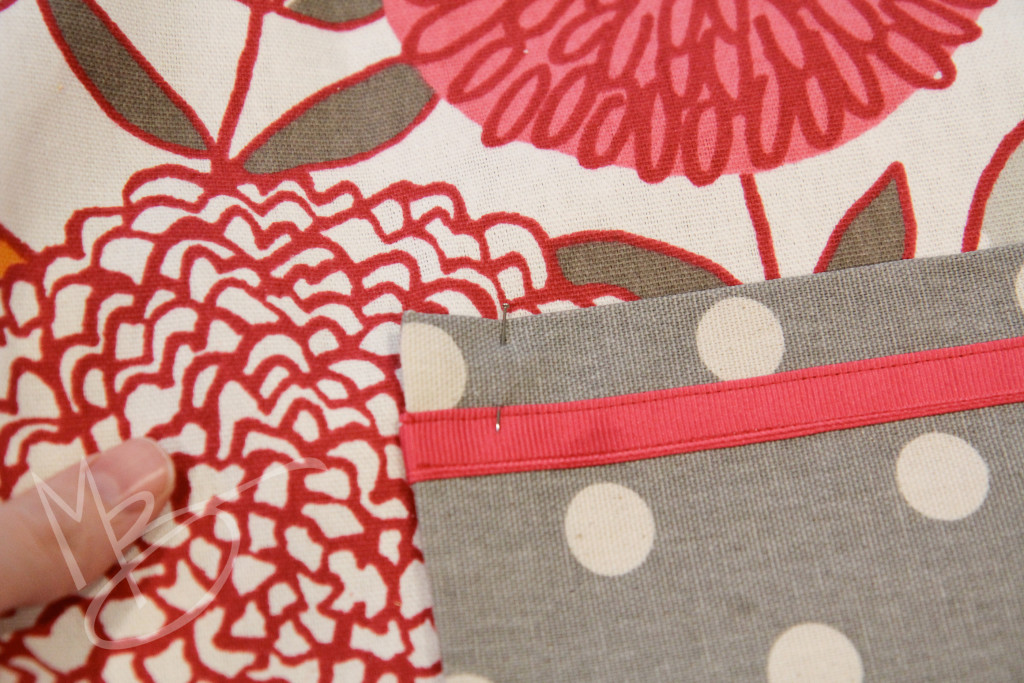
I decided I liked this pink ribbon, but it seemed a little wide so I chose to sew it in half to narrow it before adding it to the pocket.
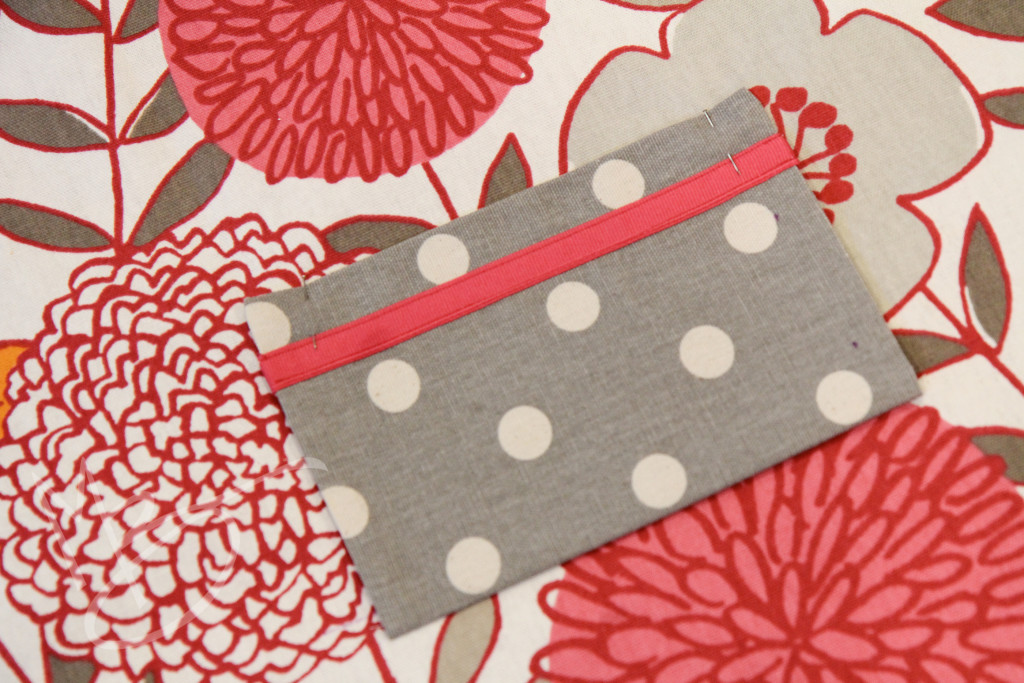
It’s easy to play around with options by laying the pocket on the fabric and then embellishments on top so you can see what it would like. It’s much harder to sew something on and decide you don’t like it so play all you like, then stitch. 🙂
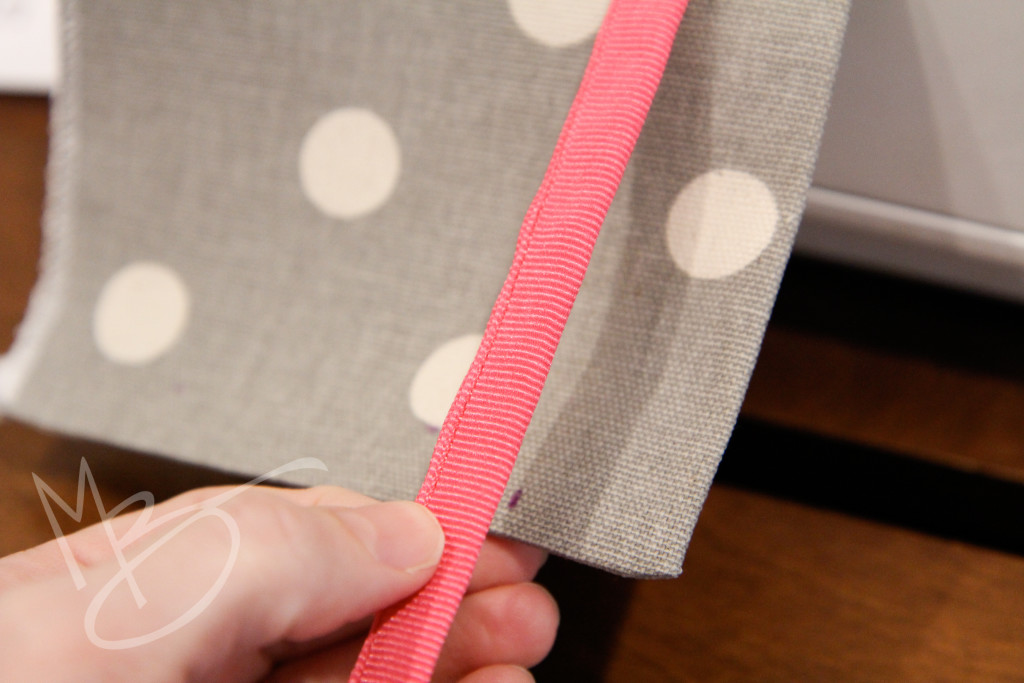
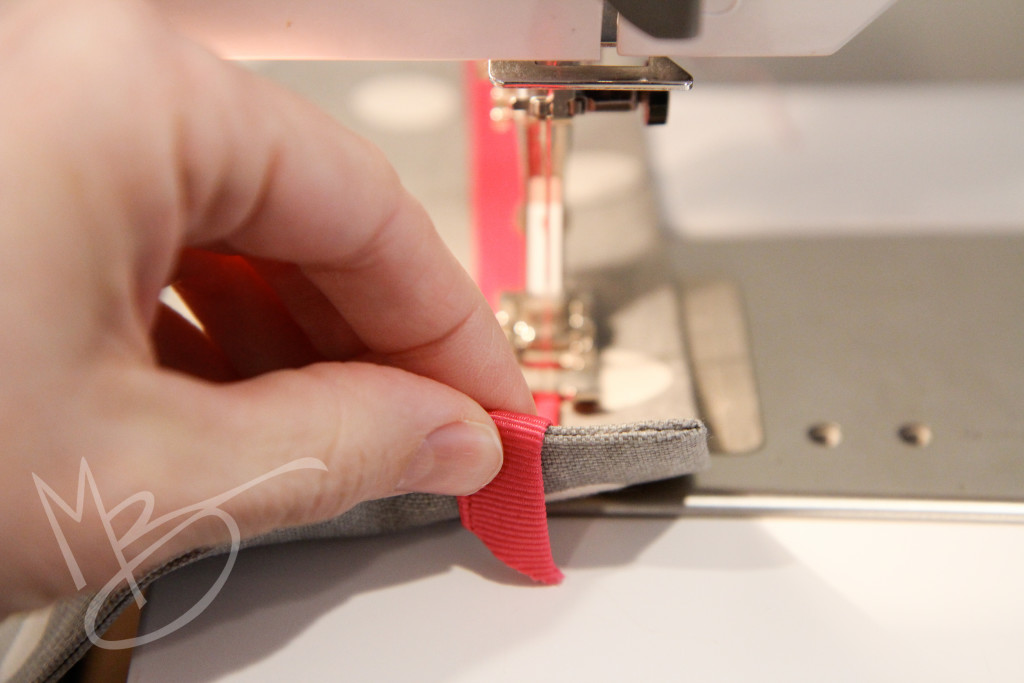
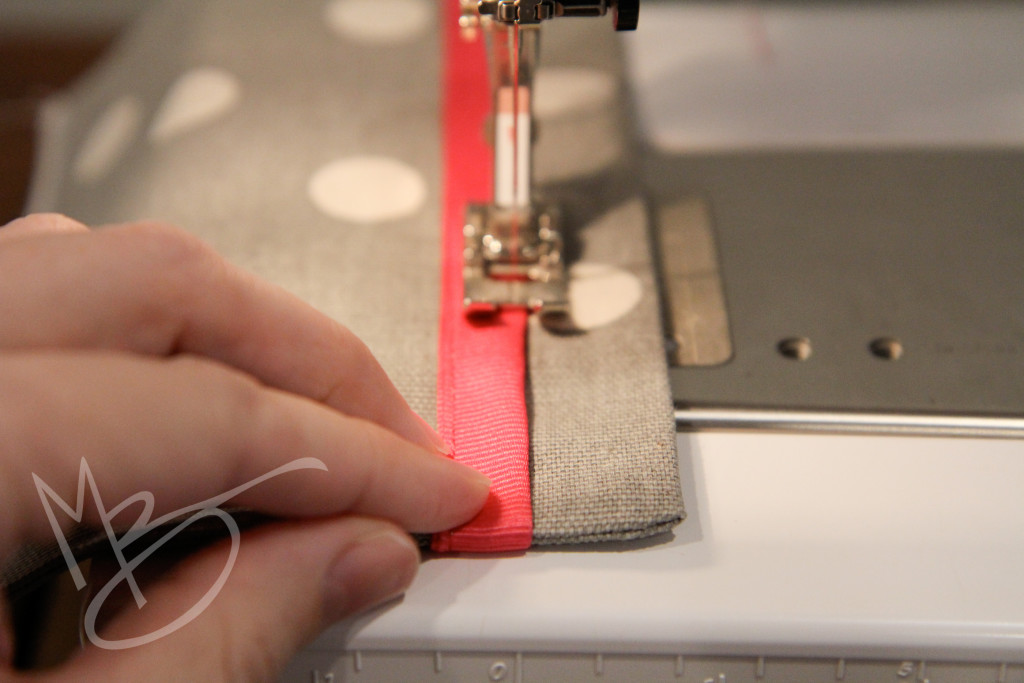
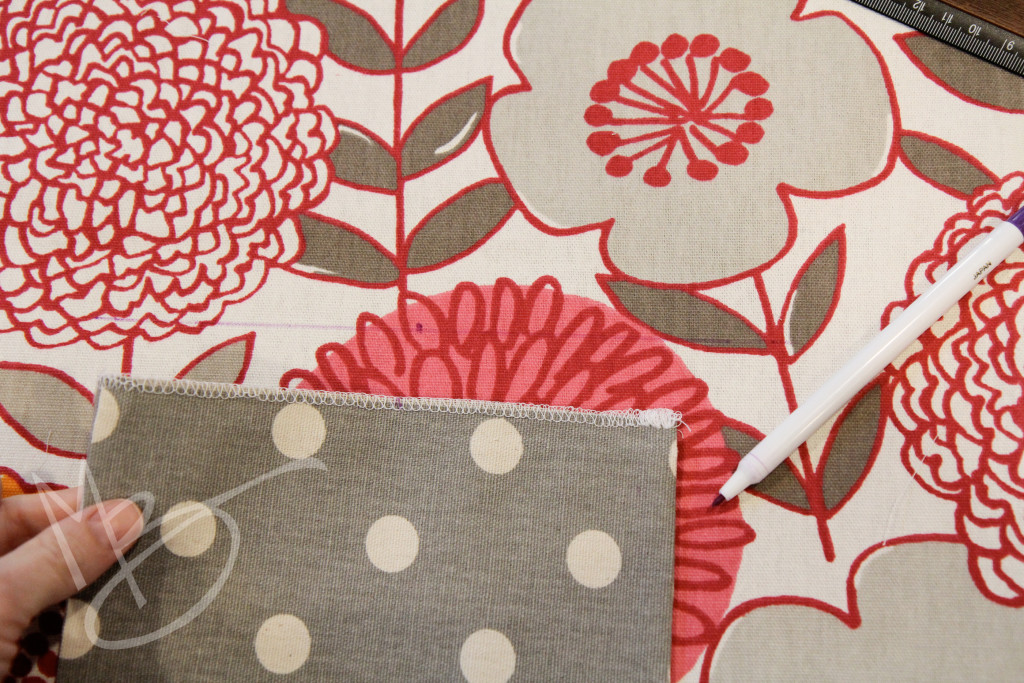
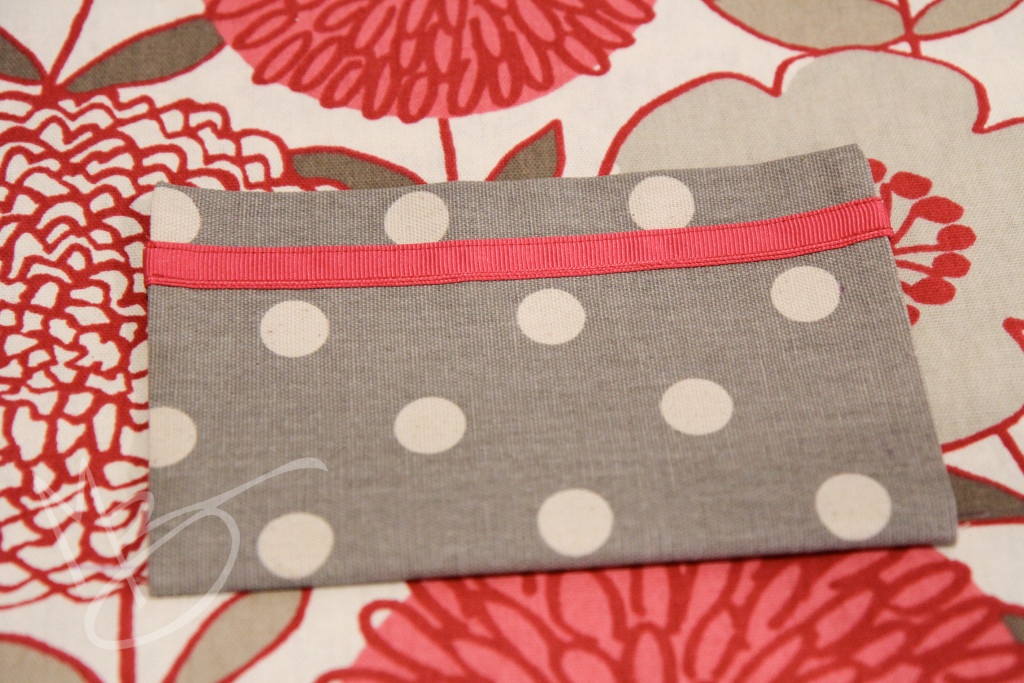
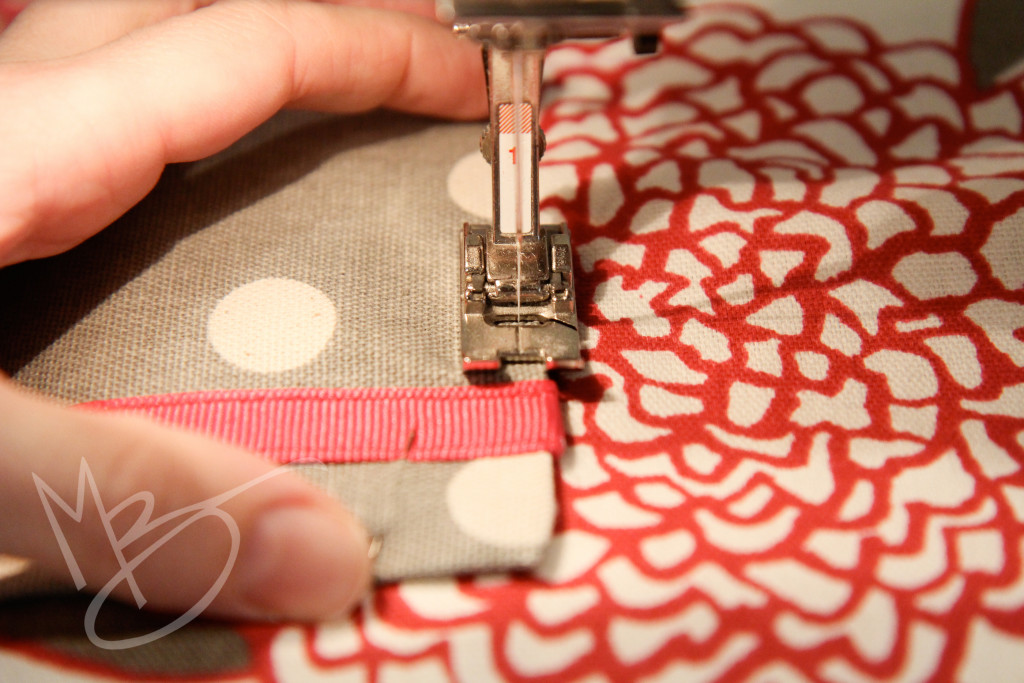
Once you decide where you want something, mark where it should go with a fabric pen. I put mine 1/2″ down from the top of the pocket. Line the ribbon up (this is where a particular seamstress would pin in place, but I’m a bit of a wing it girl so I just make marks and line it up with my fingers as I go) and stitch it in place along the top and bottom of the ribbon. If you’ve been using white thread, you will want to change the thread color to match the ribbon.
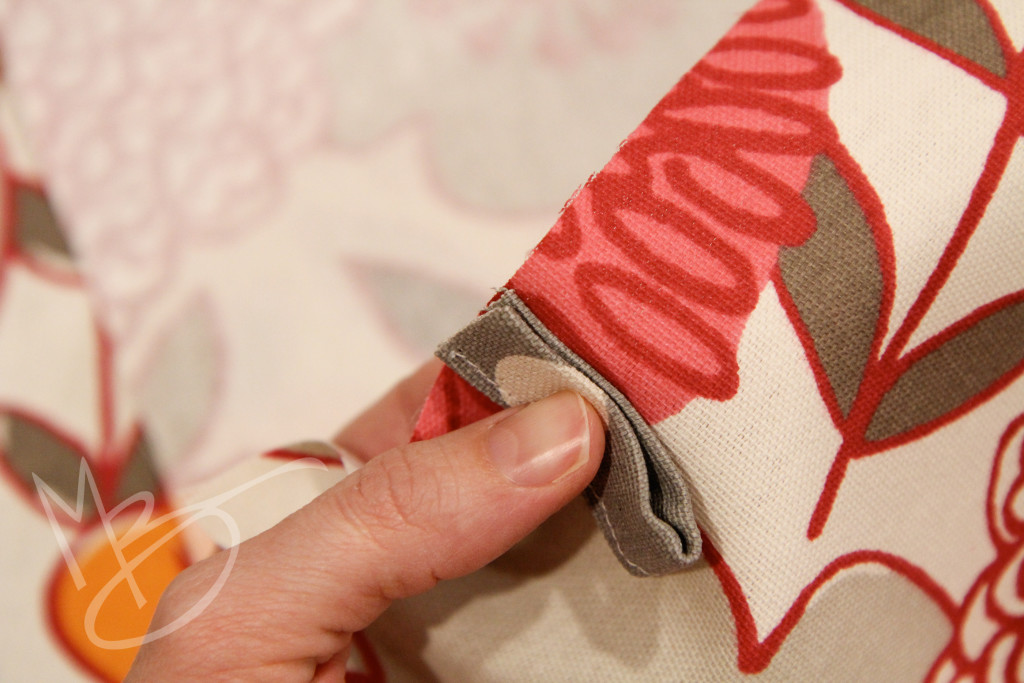
You can fold it in under the pocket so the edges are neatly finished.
I considered adding a ribbon bow, but decided against it. I still think a button would have been cute, but I didn’t have one on hand that worked so I skipped it. But the sky is the limit when it comes to personalizing your own project.
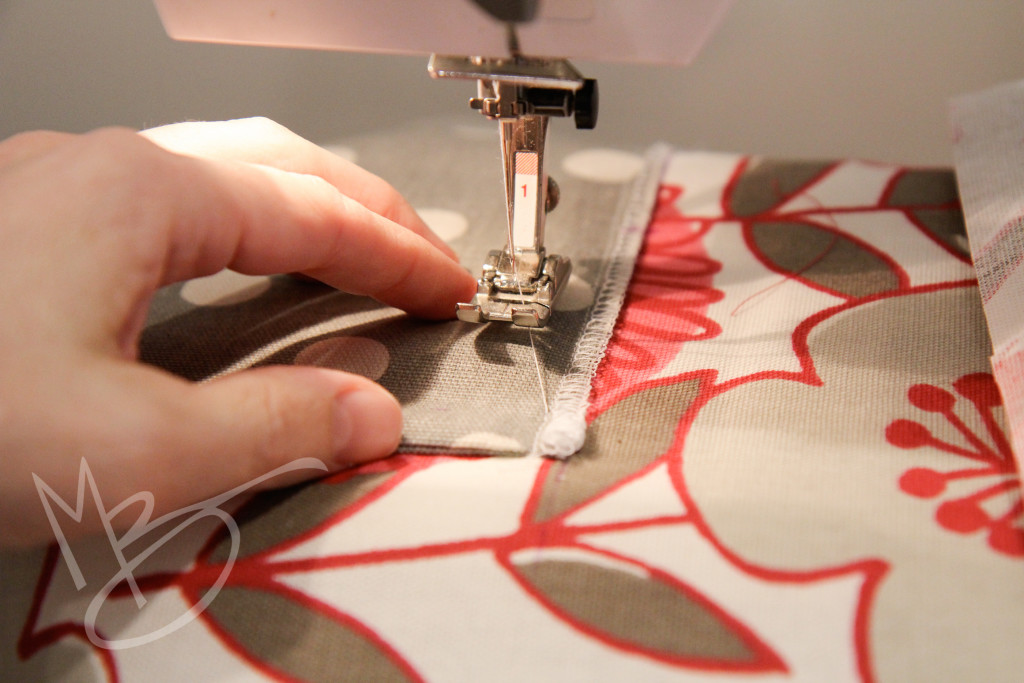
After you’re satisfied with what the pocket will look like, draw a line 6″ up from the bottom of the main piece of fabric. Find the middle of the fabric and the middle of the pocket. Place the serged edge of the pocket along the line you just drew, matching the middle markings, and pin it in place (or wing it if you’re like me). Then sew close to the edge of the pocket. I tried to sew just below the serger stitching.
Now flip the pocket up into position and press. This time you really should pin it, even if you tend to wing it. 🙂 You don’t want the pocket to shift sideways while you’re sewing.
Top stitch the sides of the pocket to the fabric. I prefer starting from the bottom of the pocket on both sides to keep the fabric from bunching as I sew.
Since I was donating this bag to a fundraiser for camp, I left the pocket like this. If I would have been making it for myself, I would have topstitched a line to divide the pocket so that one side would fit my cell phone. I think this bag is perfect for a book, snack and water bottle for a day at the lake and I love to have my cell phone on the outside where it’s easy to get to.
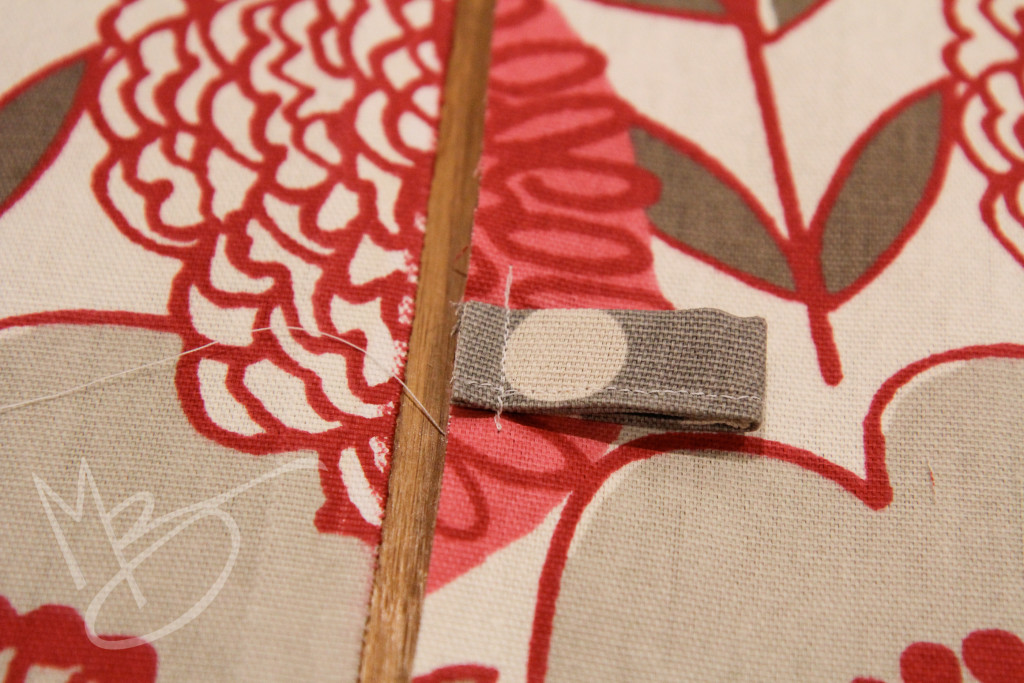
When you’re happy with the pocket, pick up the little 3 1/2″ tabs you cut from the long strips earlier, fold them in half, and sew them onto the other rectangle. Measure up 3″ from the bottom of the fabric and stitch them to the right side of the fabric. Just a little tip for neatness. If the top stitched edge of your tab is toward the bottom of the bag, be sure to do the other one the same way. It might be kind of like splicing straps and no one will notice. But it’s such an easy thing to do and it does look more professional when it’s finished.
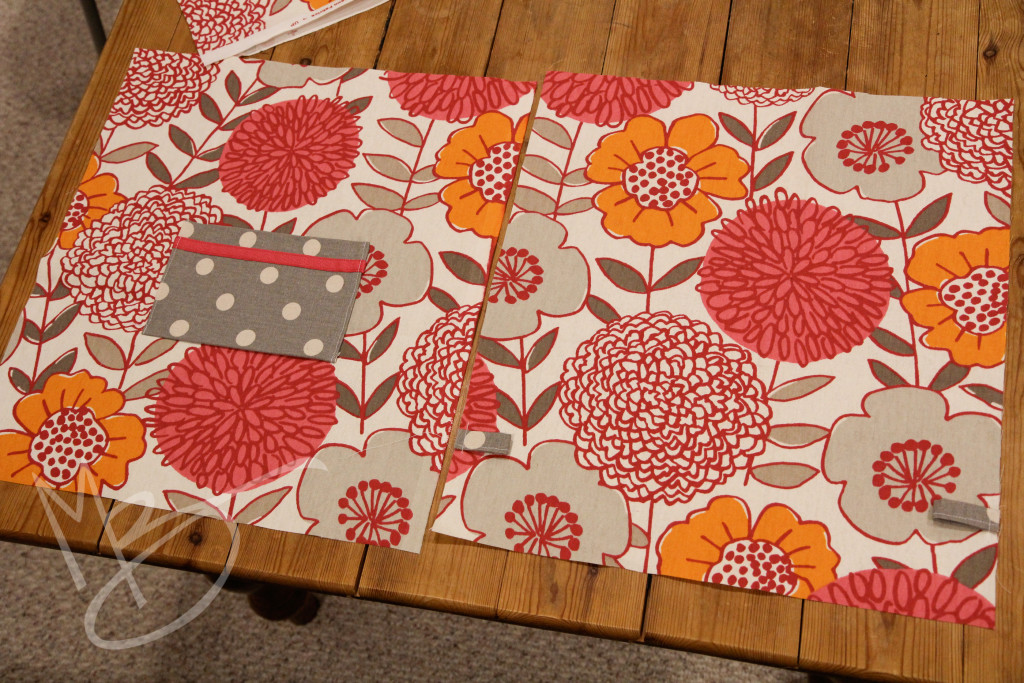
The two rectangles should now look like this. Front and back.
Serge all around the edges of both rectangles.
Now place right sides together and PIN! See, I do pin sometimes. 🙂
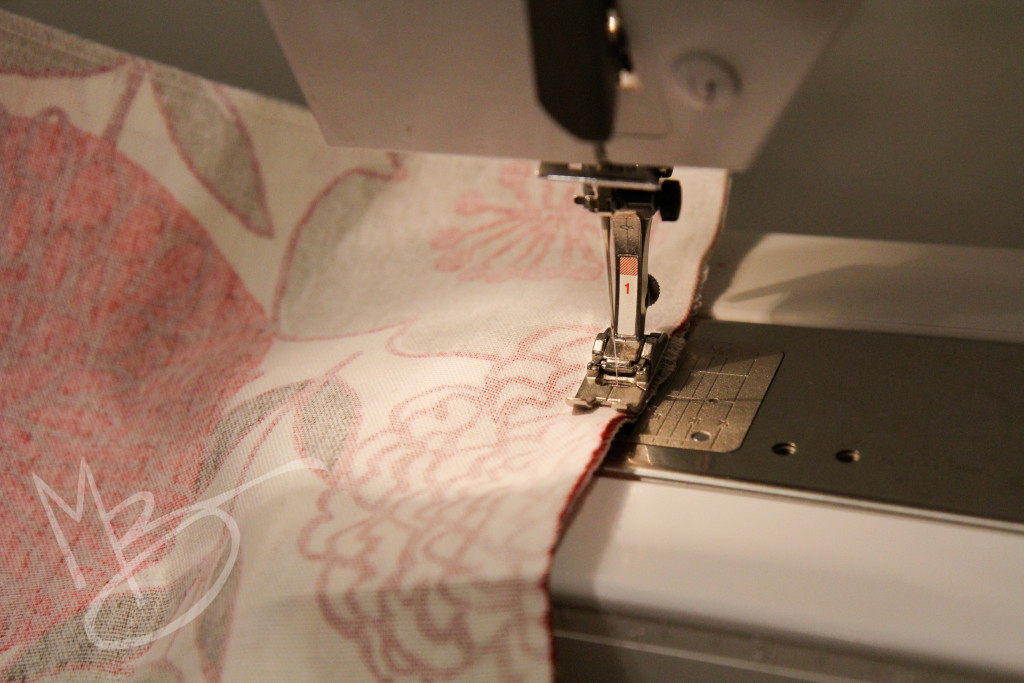
Sew around the sides and the bottom of the bag, but not the top!
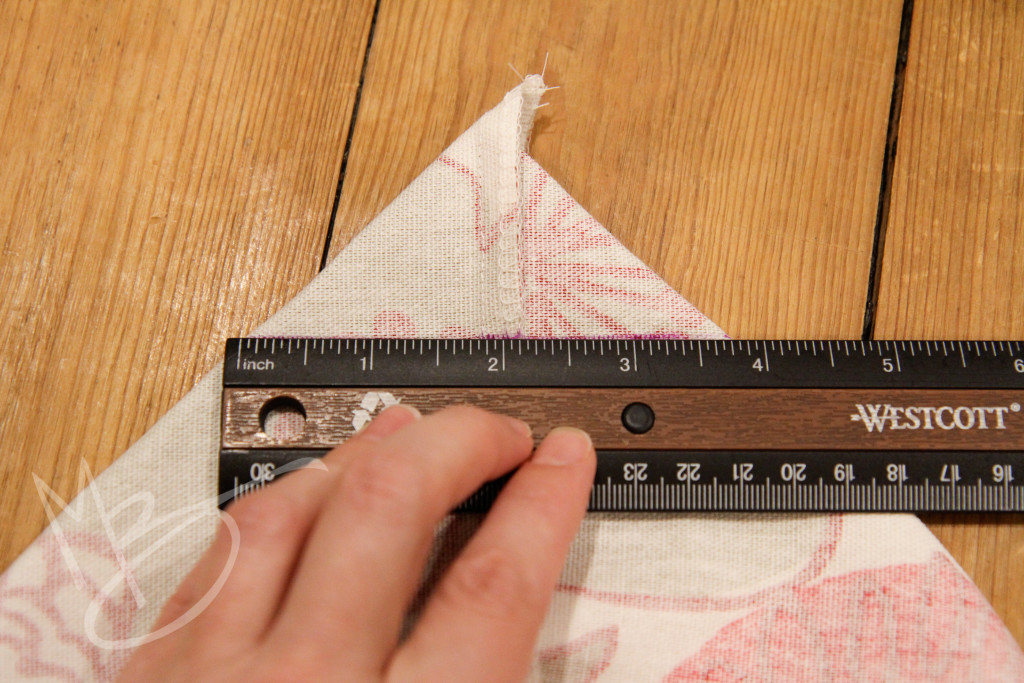
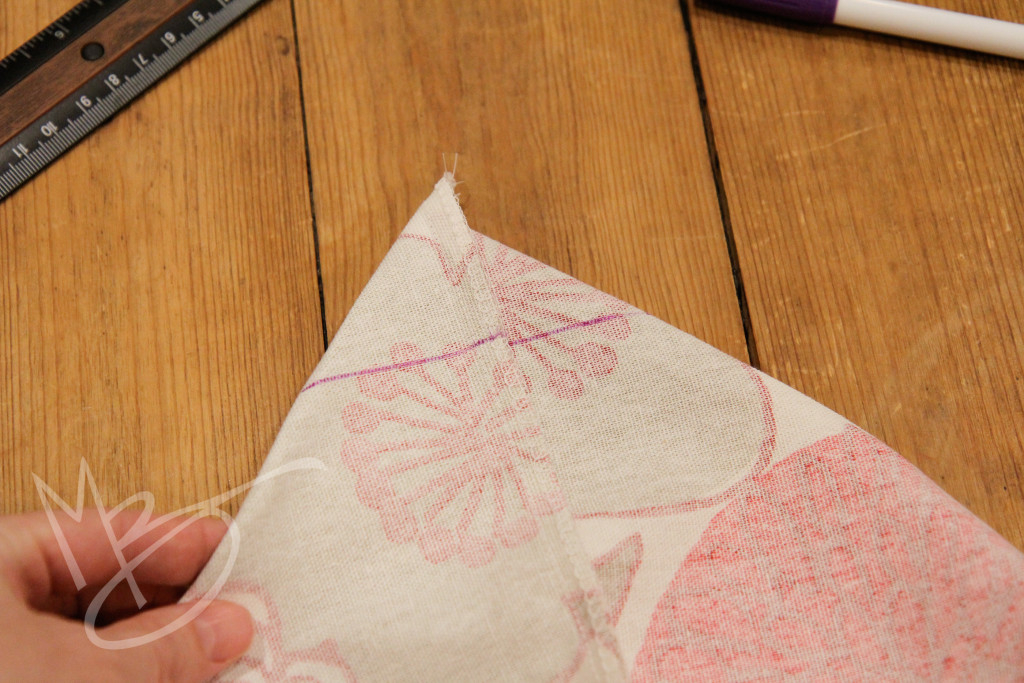
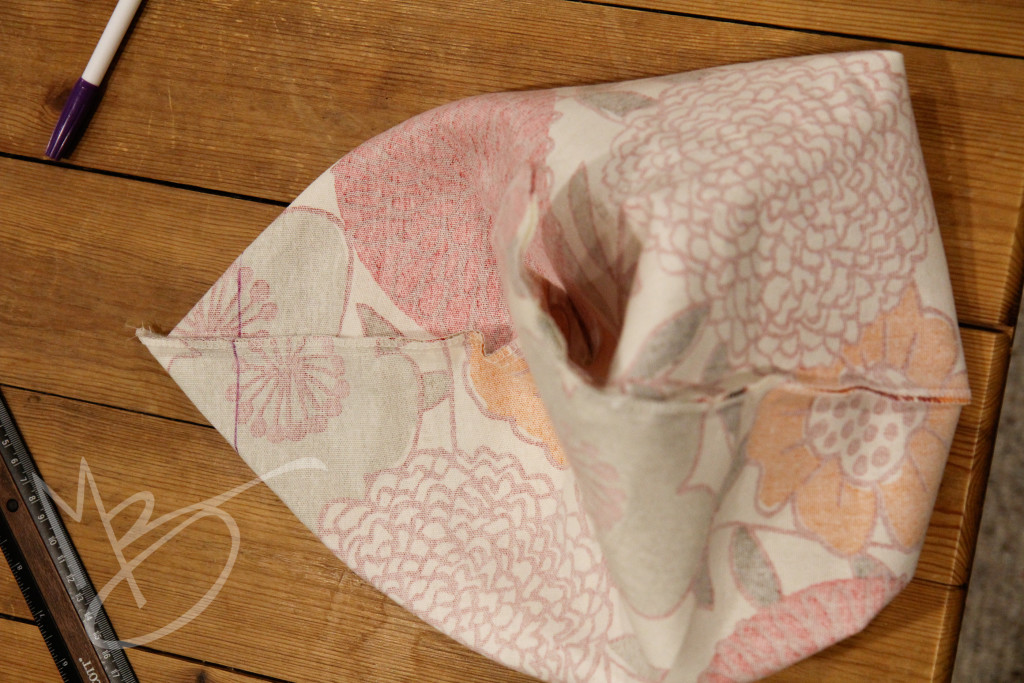
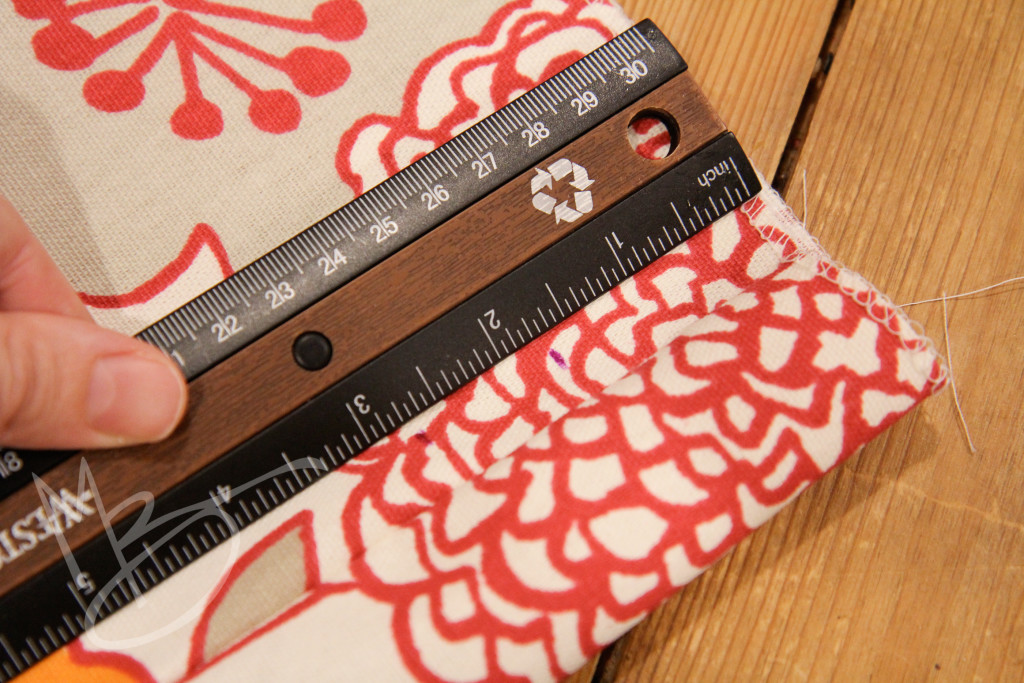
Now we’re going to give the bag a flat bottom. Lay the bag down and separate the front and back from each other at the corner to make a triangle. Be sure the side seam and bottom seam are matching (you can feel it through the fabric) so that you have an even triangle. Then mark a straight line across the corner. I made mine 3 3/4″.
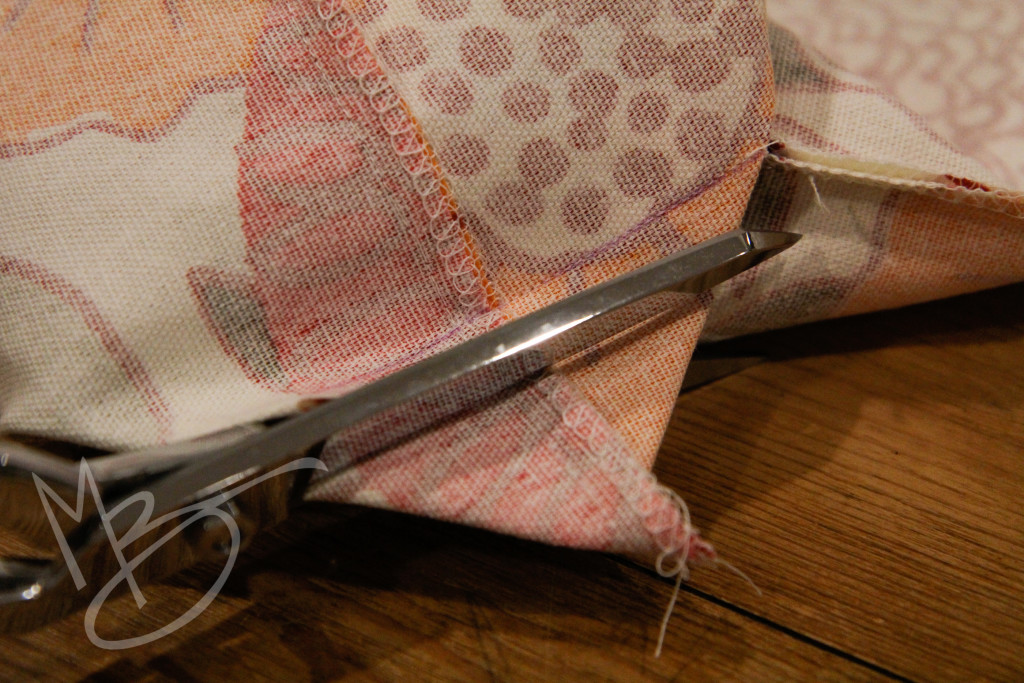
Pin it in place (or hold it very, very carefully) and sew right along that line being careful that the little tabs you sewed on earlier are not caught in the triangle. Do this on both sides. The bag should look like it has bunny ears. 🙂
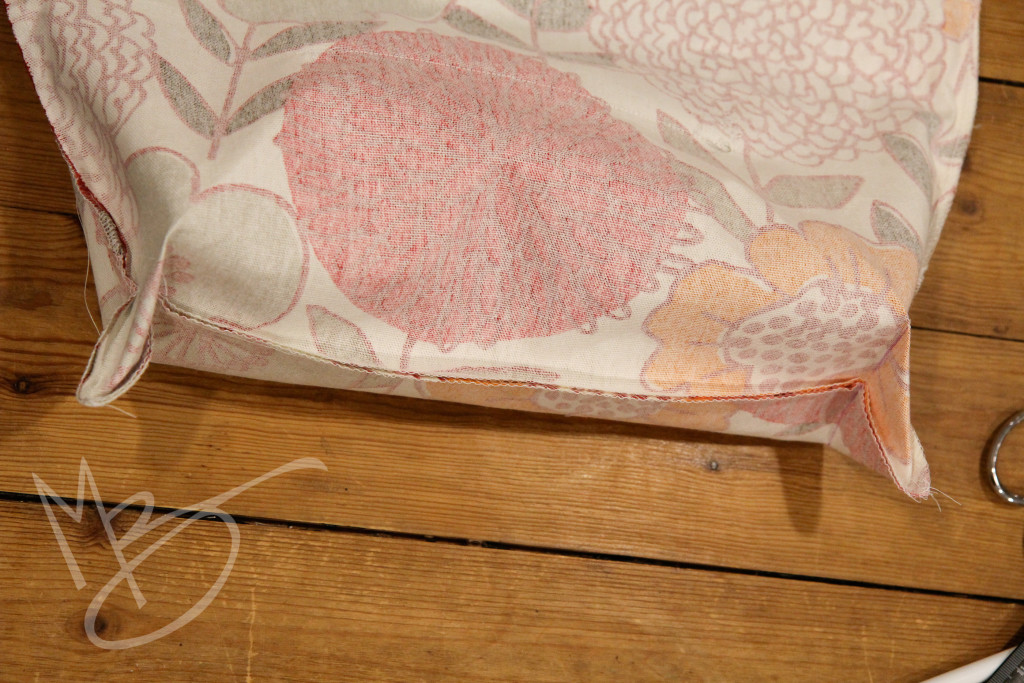 Cut off the extra fabric and serge the edges.
Turn the bag right side out. Isn’t that cool? We’re almost done.
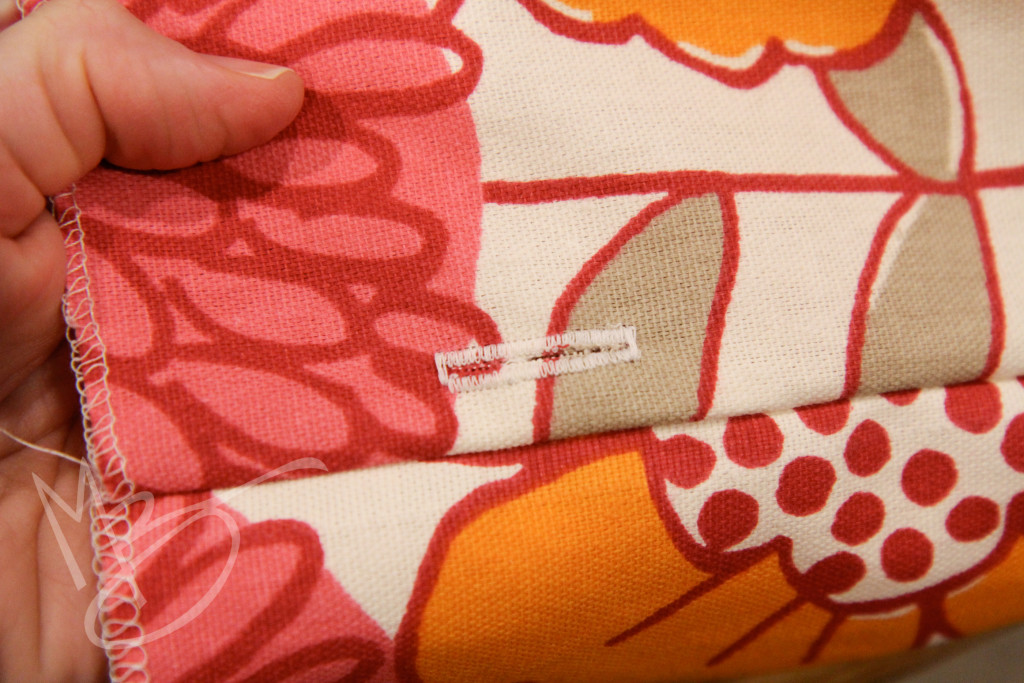
Now sew two button holes on the back piece of fabric as close to the side seam as you can reasonably do. Make a 1″ button hole starting 1 3/4″ down from the top of the fabric. This will create the openings for the strings to go through the casing.
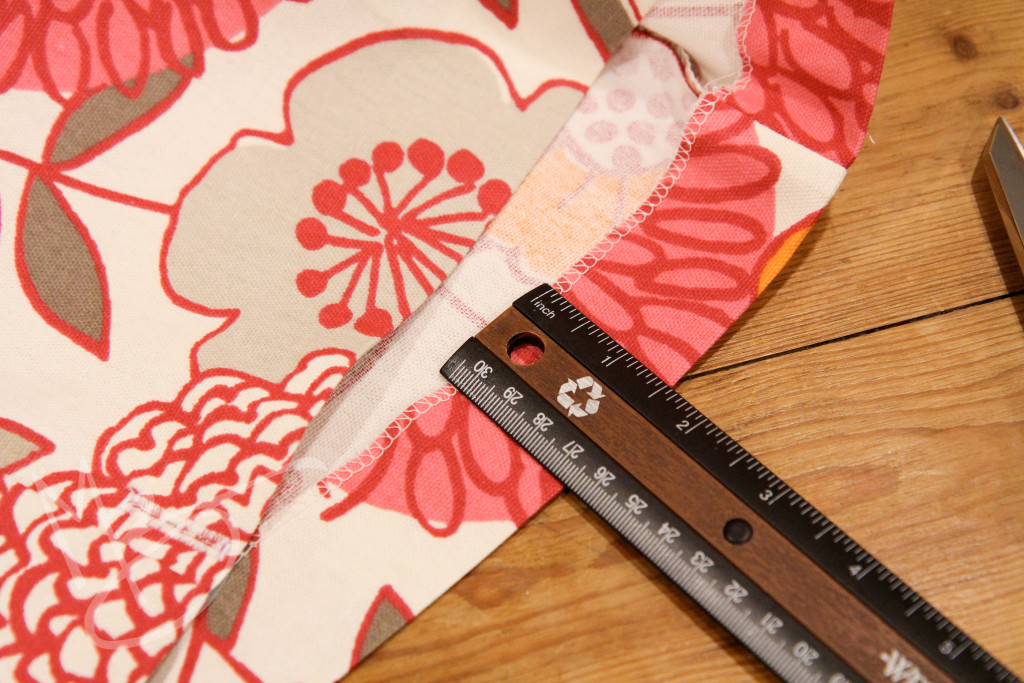
Fold the top edge of the bag down 1 1/2″ and press. Sew along the edge all the way around the bag.
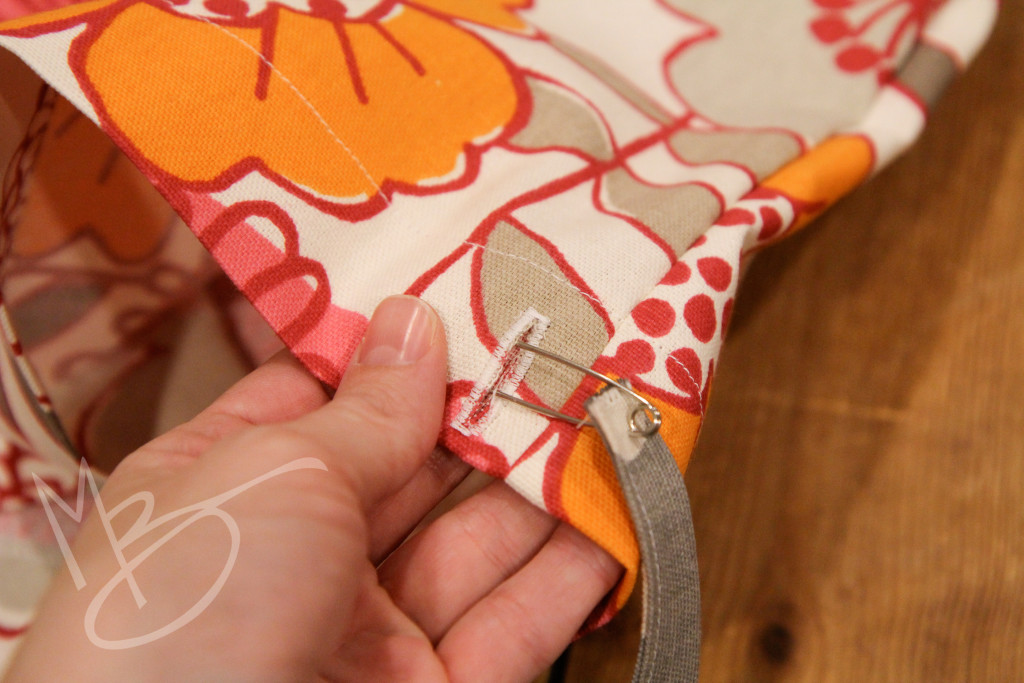
Now you’re ready to thread the strings through. I used a safety pin, but some of you may have a better tool. Feed the strap the entire way around the bag, bypassing the buttonhole on the other side and exiting out the button hole you entered.
Now repeat the process with the other string using the other buttonhole. You’ll have to push the first string to the side a bit as you wiggle past that first buttonhole with the second string.
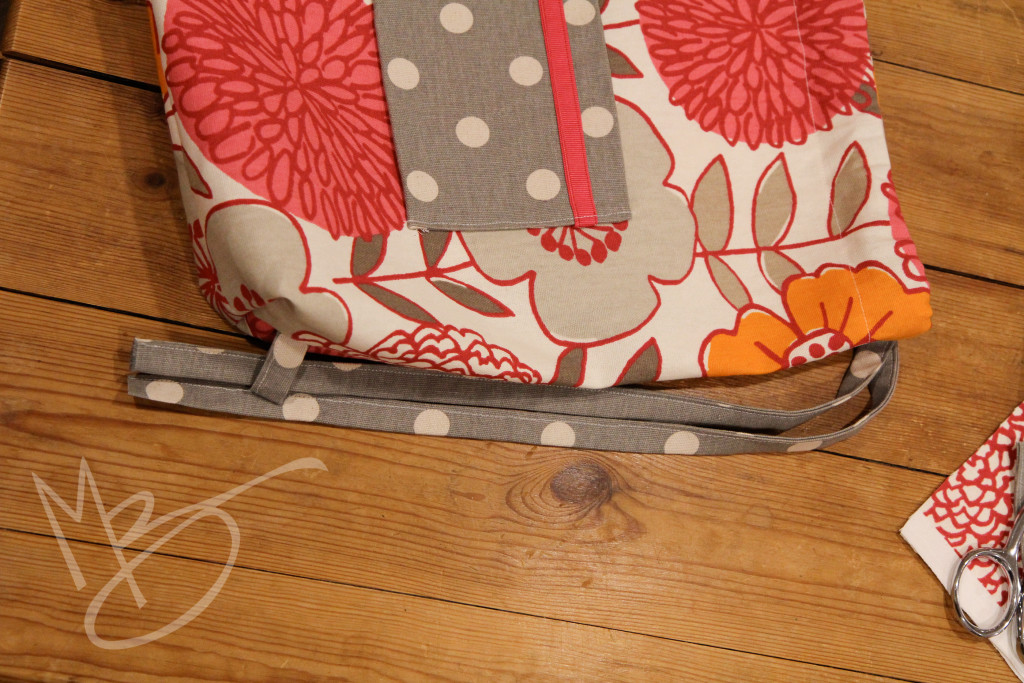
Loop one strap on each side through the tabs at the bottom of the bag and tie a knot.
If the strings are too long, you can trim off some excess first. Just remember that it’s much easier to cut some off than it is to splice another piece back on (how would I know?) so make sure you’re happy with the measurement when the bag is open and cinched. 🙂
And you’re finished!
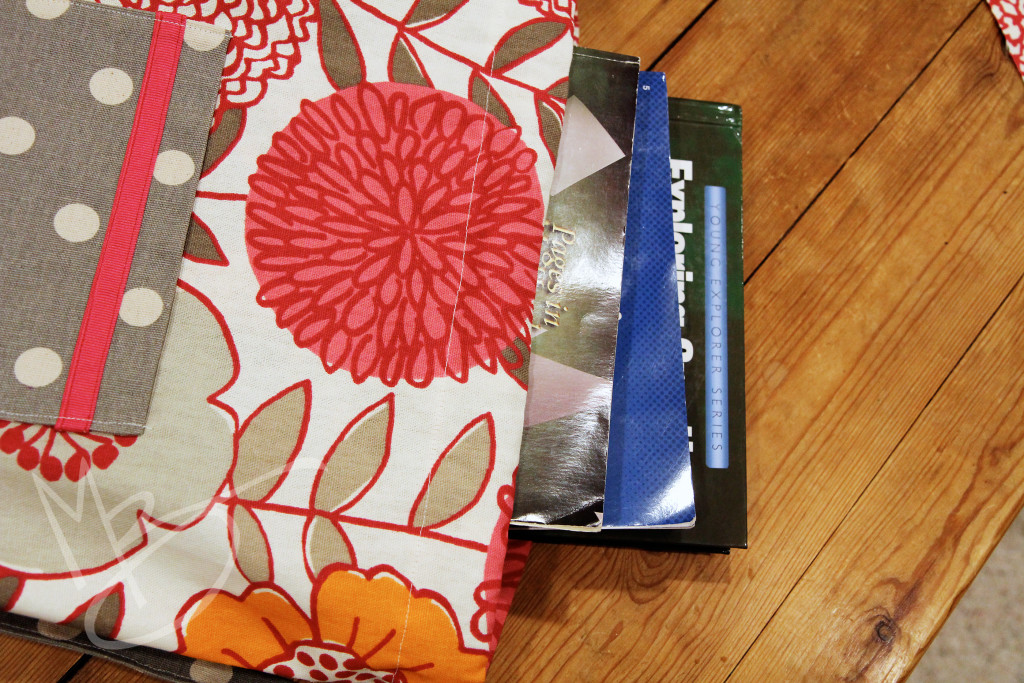
You could use it for school books or a sleepover with friends. Or maybe you just need something to carry your Bible and journal to the coffeeshop.
If you try it I’d love to hear how it went. Even better, you could send me a picture of your finished bag. 🙂



awww…ADORABLE! Love it, Michelle.
Thanks, Jenn!
That’s gorgeous, Michelle! I love your choice of fabric and creativity!!
I miss you so much!!
Aw, I miss YOU, too!! I’d love one of those long coffee and catch up chats in your house about now. 🙂
It was a tad bit jealous of this bag when I saw it at the auction and meant to come home and search for a tutorial – but now you did the work for me! (Well, almost. I still have to sew it.)
Thanks for the clear photos and detailed instructions. I’m pinning this for a future project with my daughter.
Gina
They’re actually really fun and easy to make so it might not feel like work. 🙂
I need to make one like this… as if I need more bags, but I don’t have any just like this. 🙂 I think they girls would like them for book bags for school also. Maybe a summer project.